
In this article, we will review how to submit a Nightguard case from Unite to Automate for design.
Step 1: Begin by creating a new patient. Go to the “Patients” tab in 3Shape Unite, and select “New patient.”

Step 2: Once the patient is created, a new window will pop up. Select Automate Nightguard workflow.

You can start the case directly from the Patient Library by selecting existing digital impression.

Step 3: Proceed with TRIOS scanning for the Lower, Upper jaws and a Bite scan.

Alternatively, if no Trios scanner is attached, then you can import scans by clicking the “Import scans” button on the Order form page

or from the main case menu.

Step 4: After all required scans are added, click “Open” button to proceed to the next step.

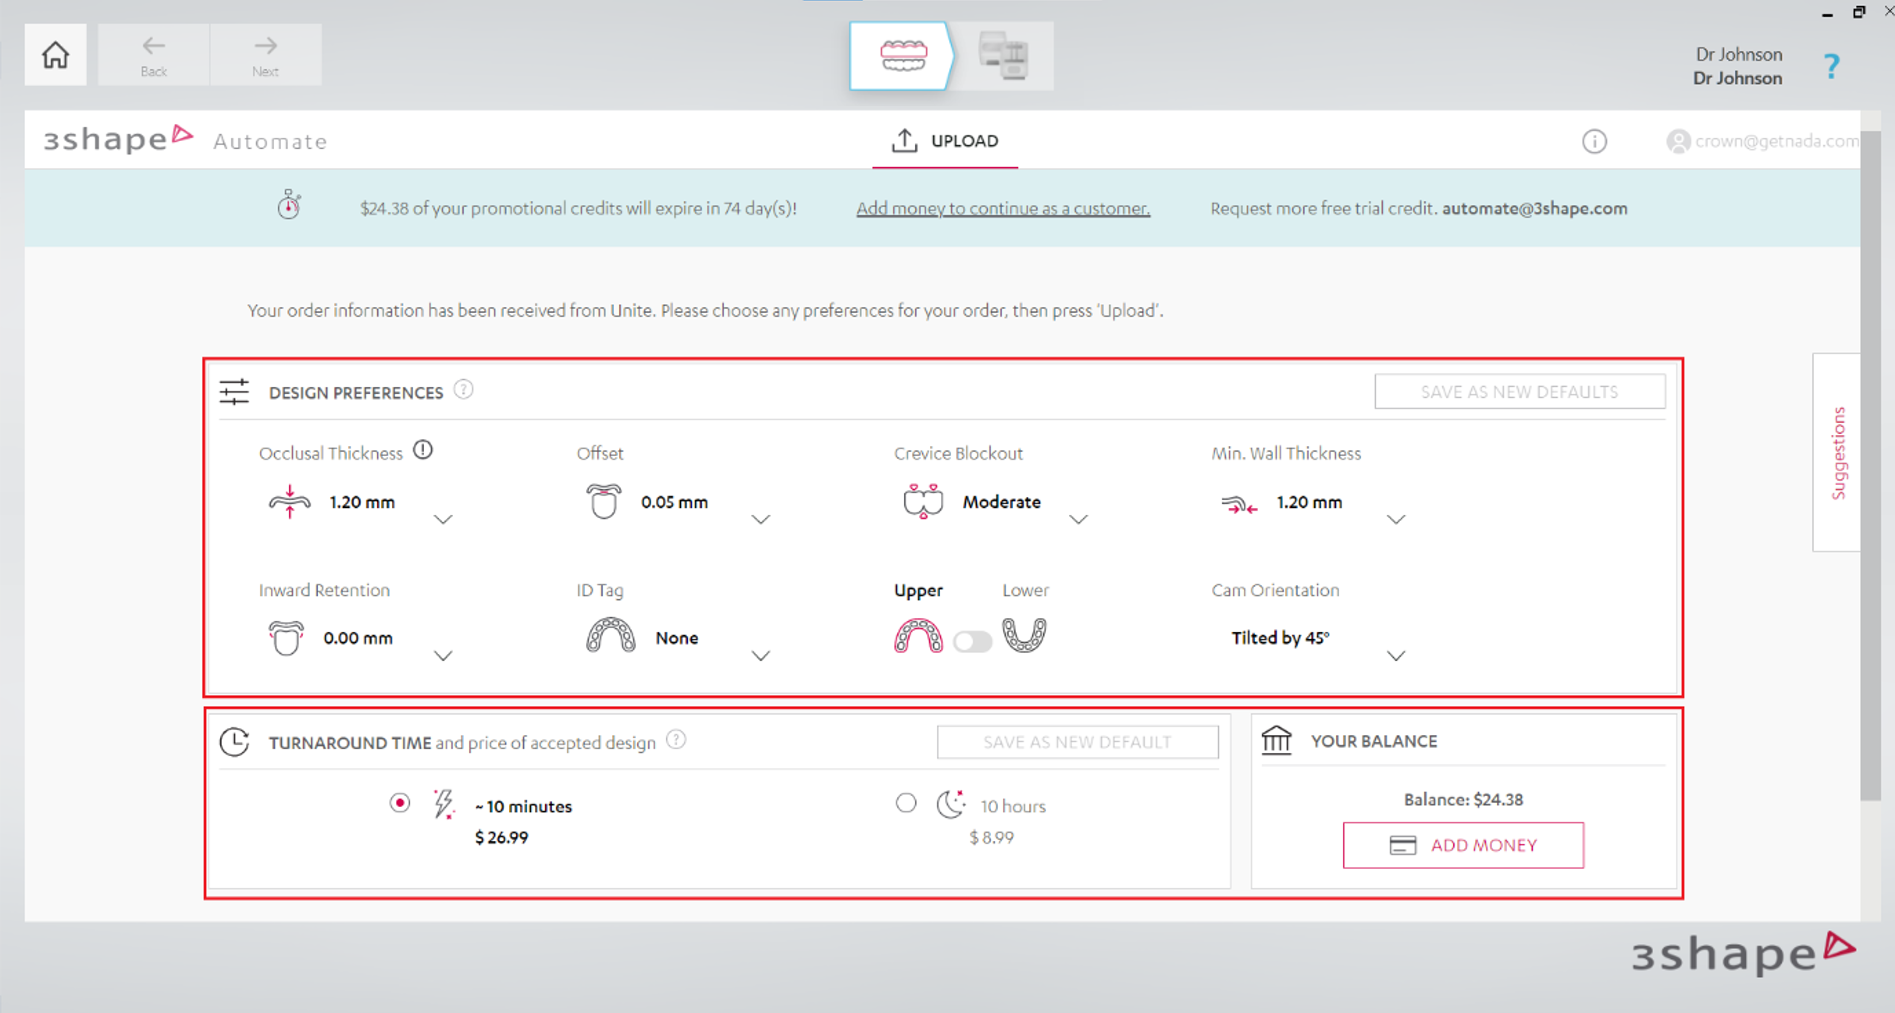
Step 5: After clicking the “Open” button, the integration case will be opened on the Automate Nightguard Page.
Step 6: Instructions can be viewed by clicking on the “i" icon and then selecting the “Instructions” button.

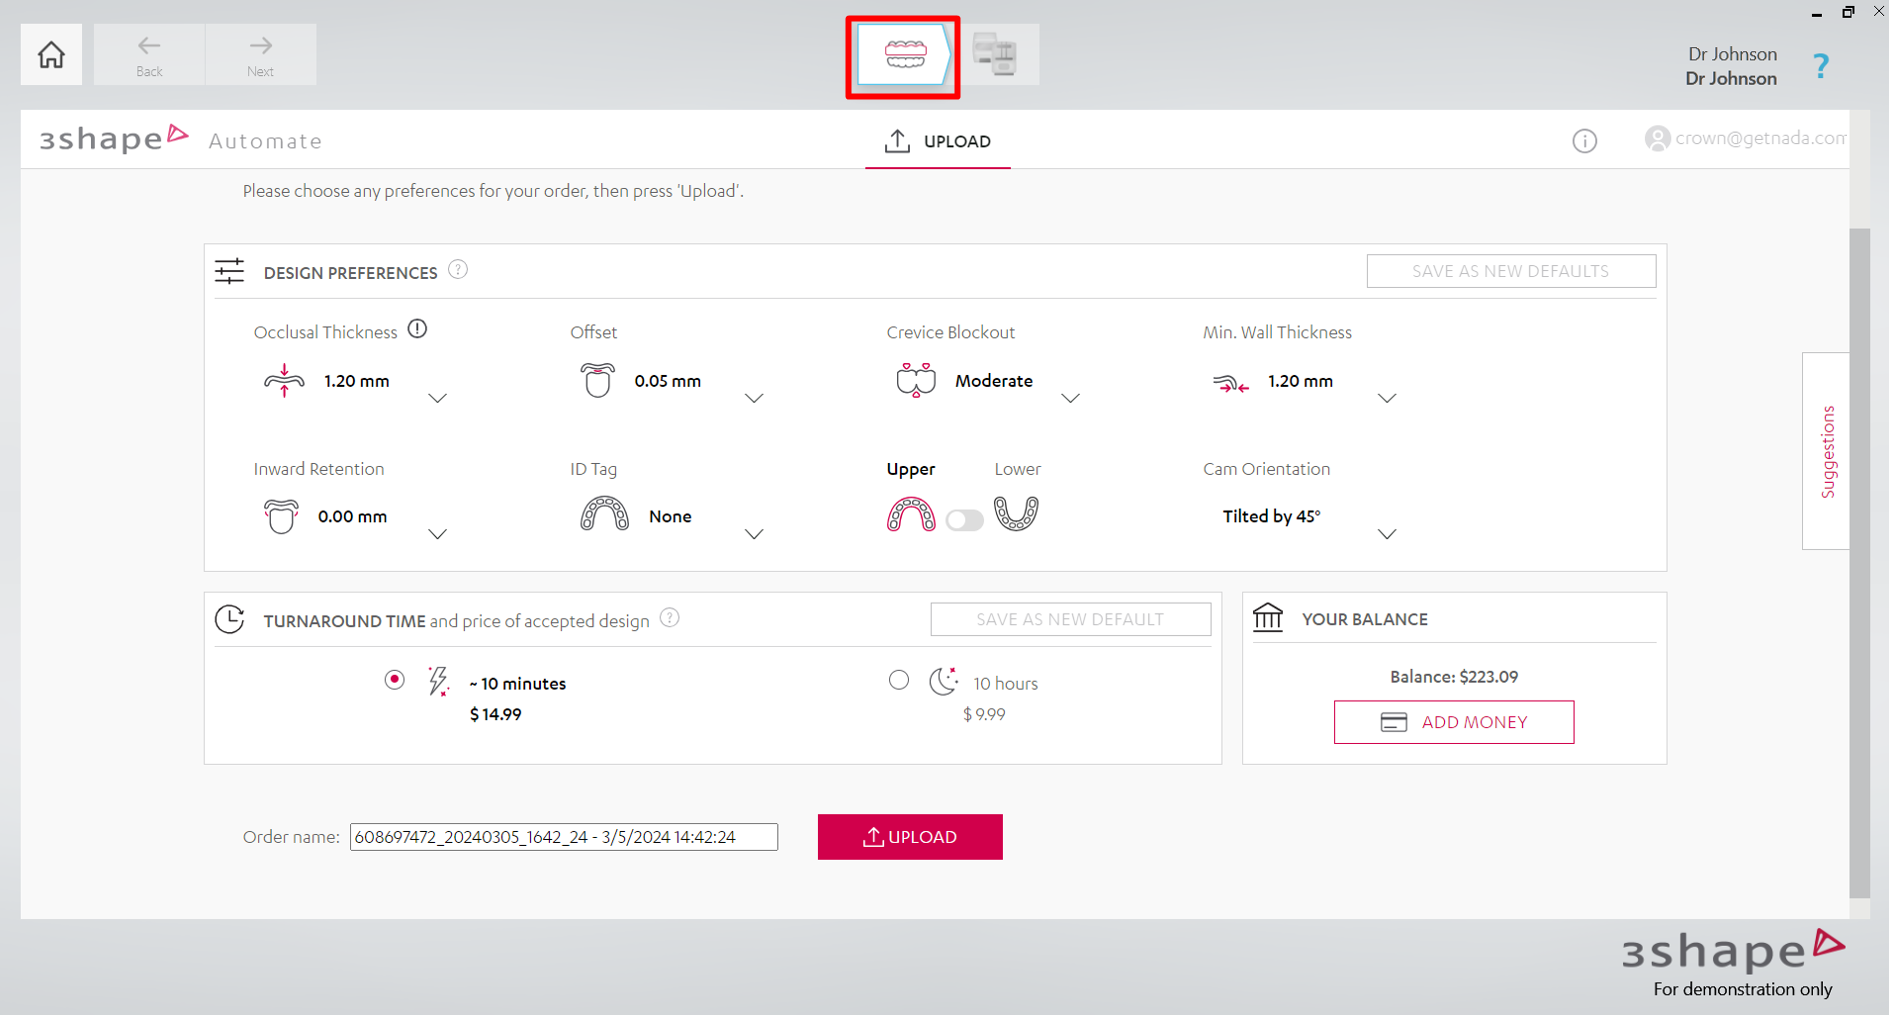
Step 7: Choose your design preferences and choose the turnaround time.
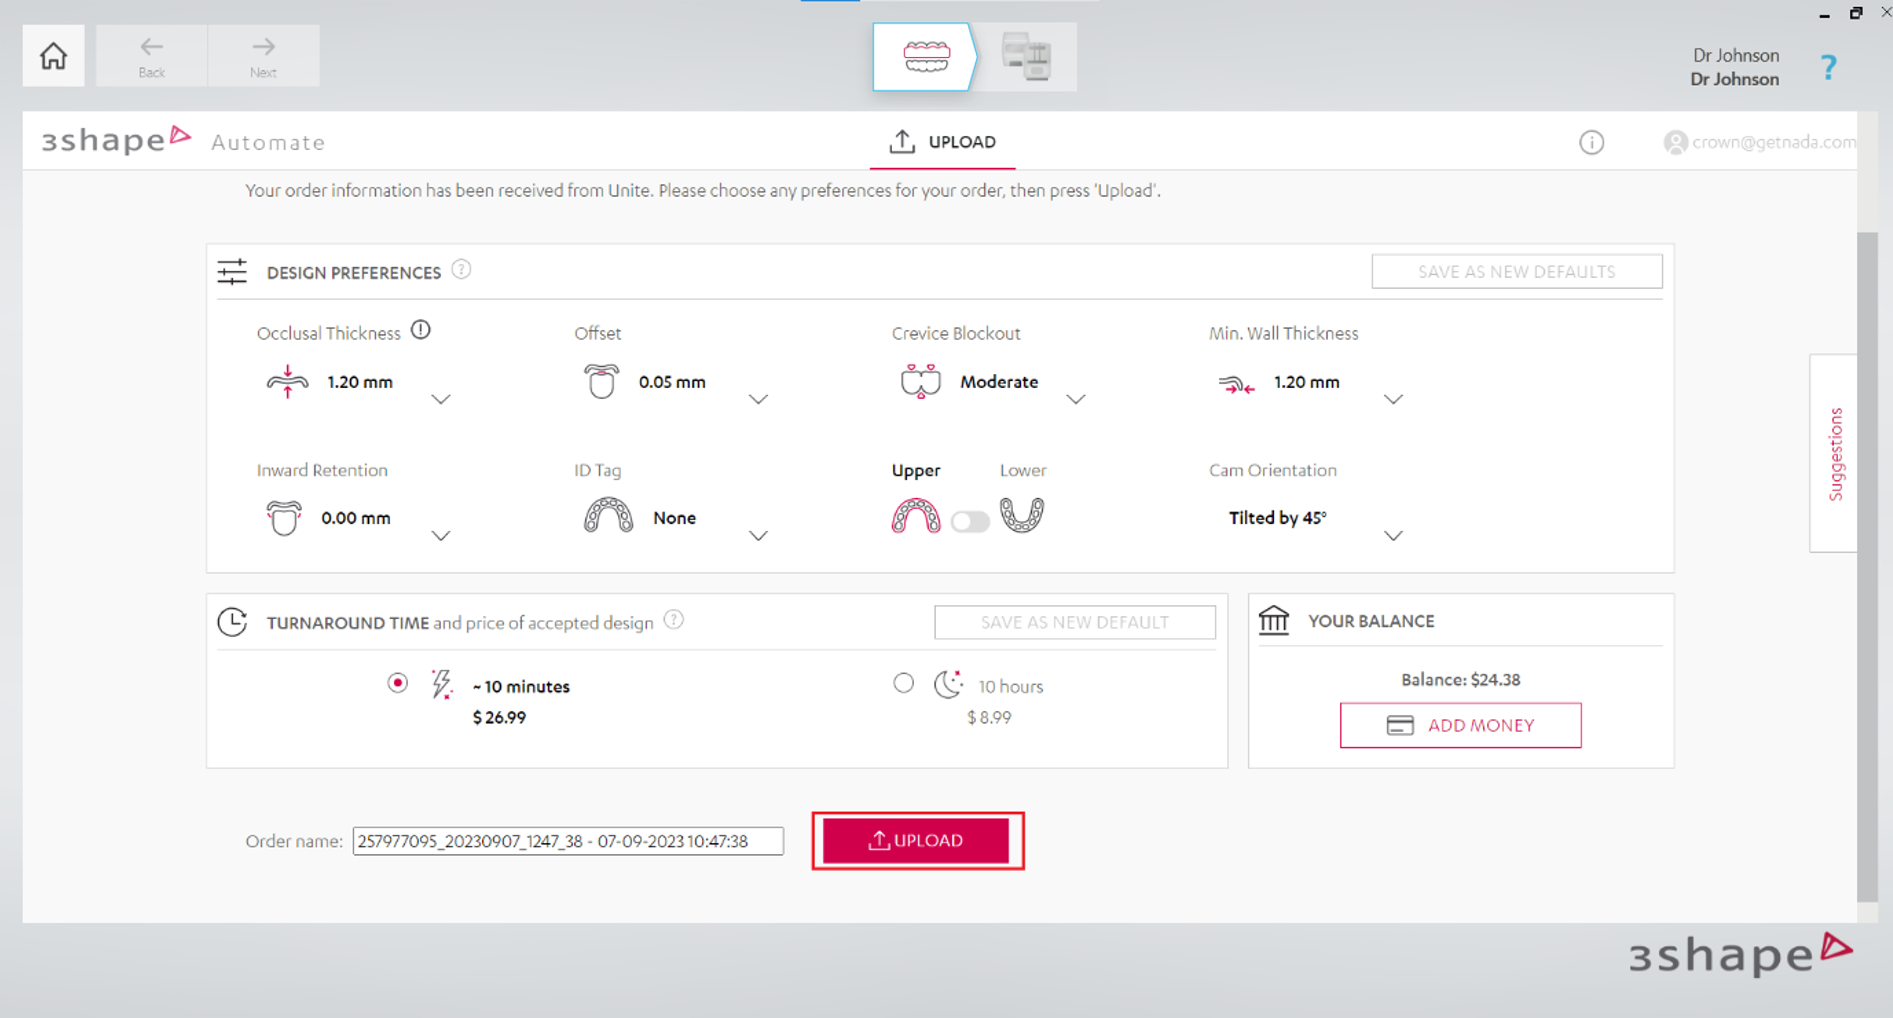
Step 8: When all details are filled in, click ‘Upload’ button.
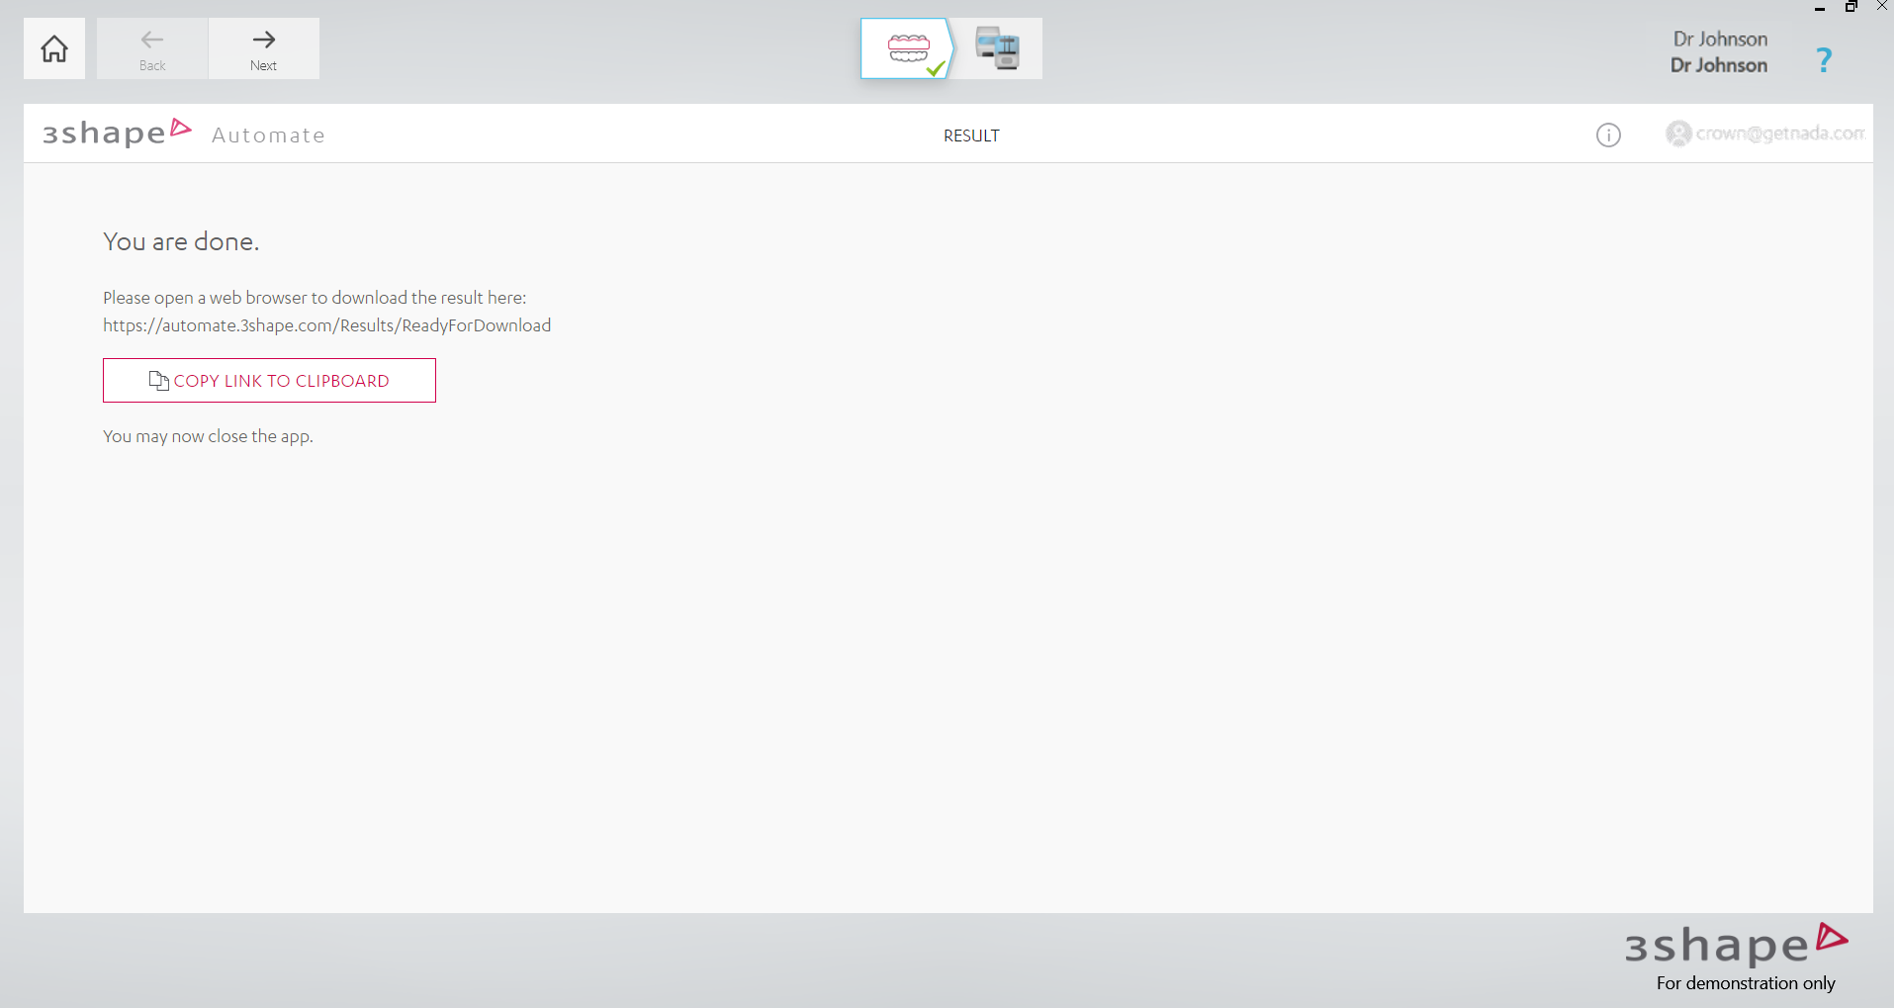
Step 9: You will be transferred to the Automate Nightguard order upload page. You may stay on the Result page and wait till the design is ready, or close the page and re-open it after.
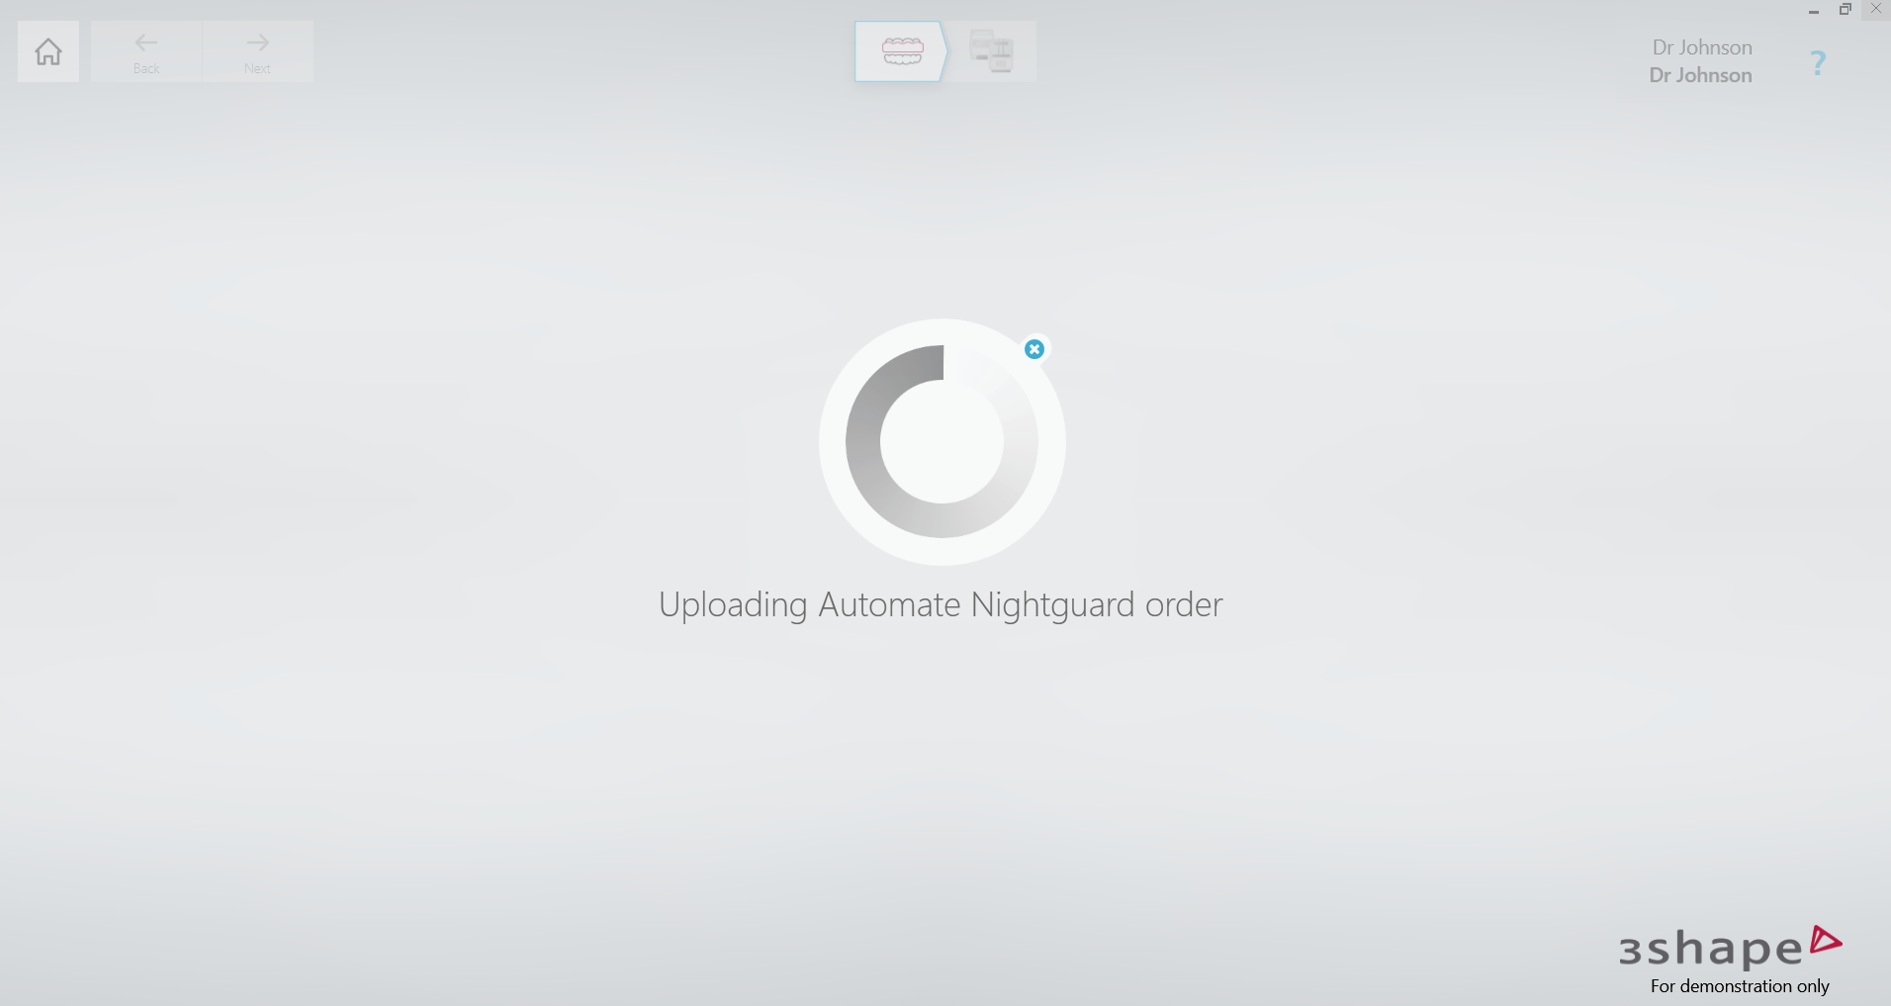
You may stay on the Result page and wait till the design is ready or close the page and re-open it after.

Please note that orders submitted more than 20 days ago will not be available for opening in Automate App.
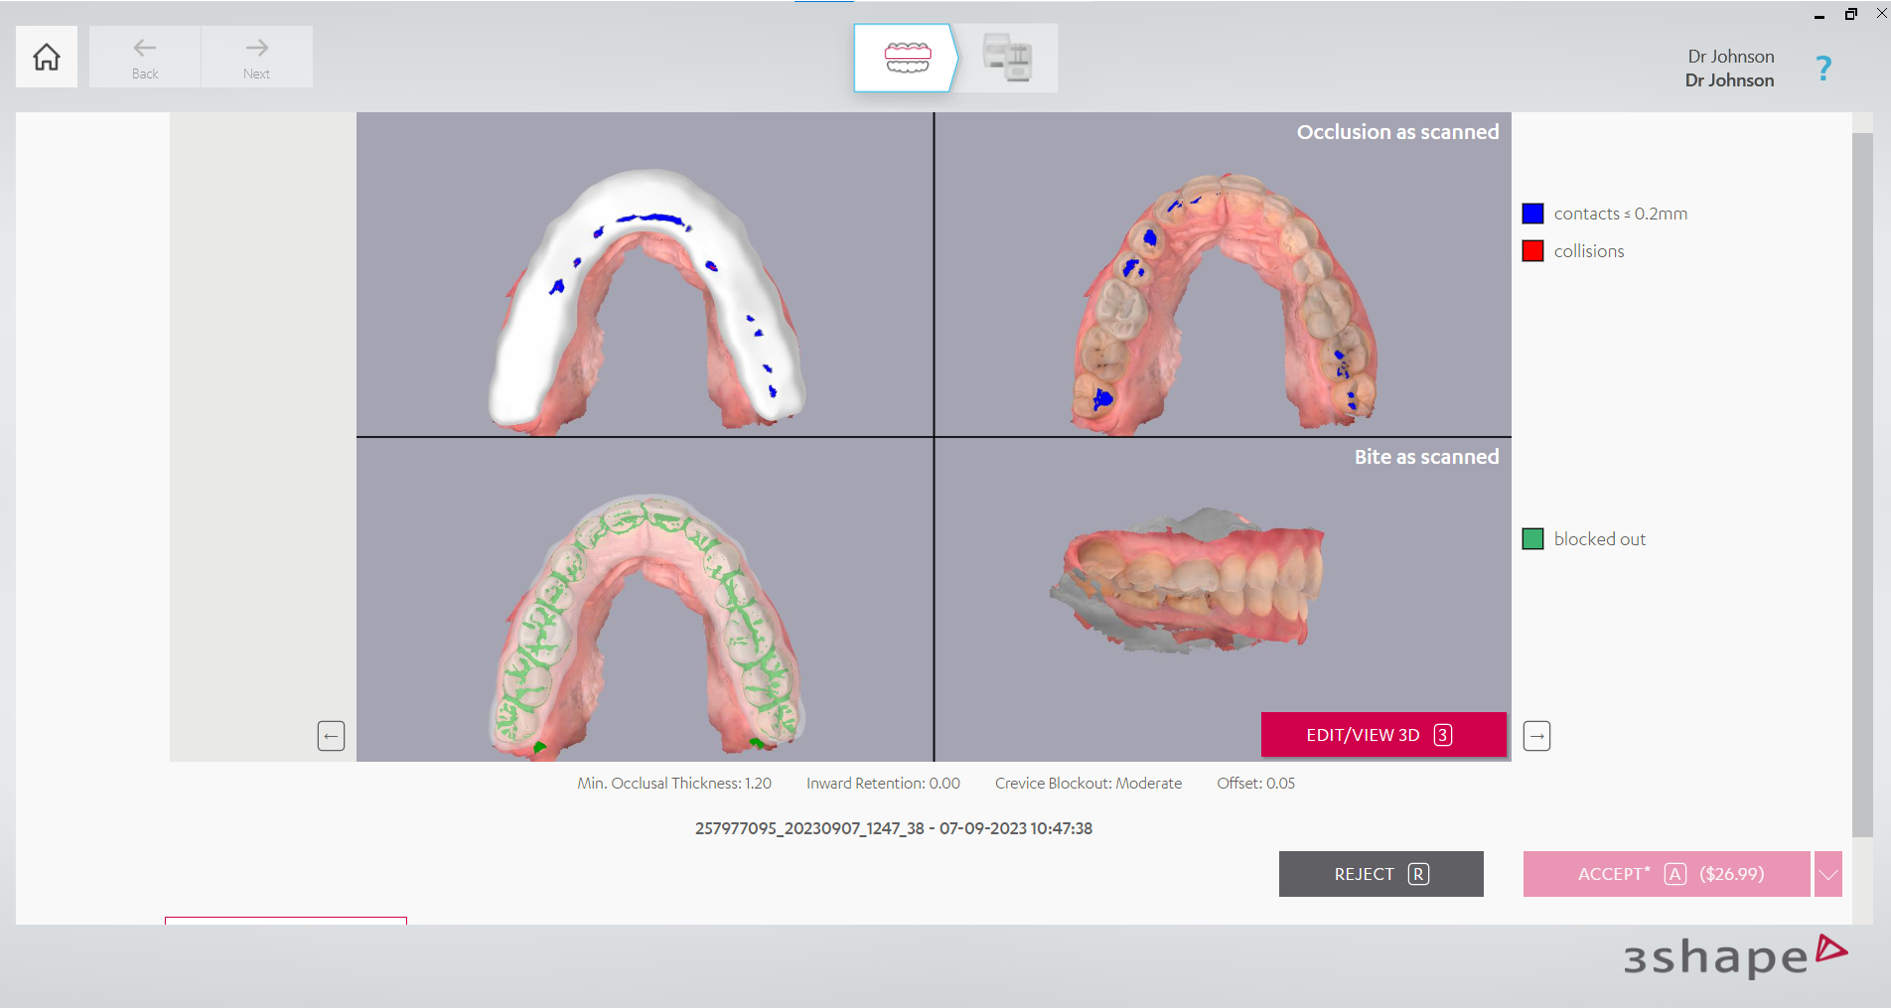
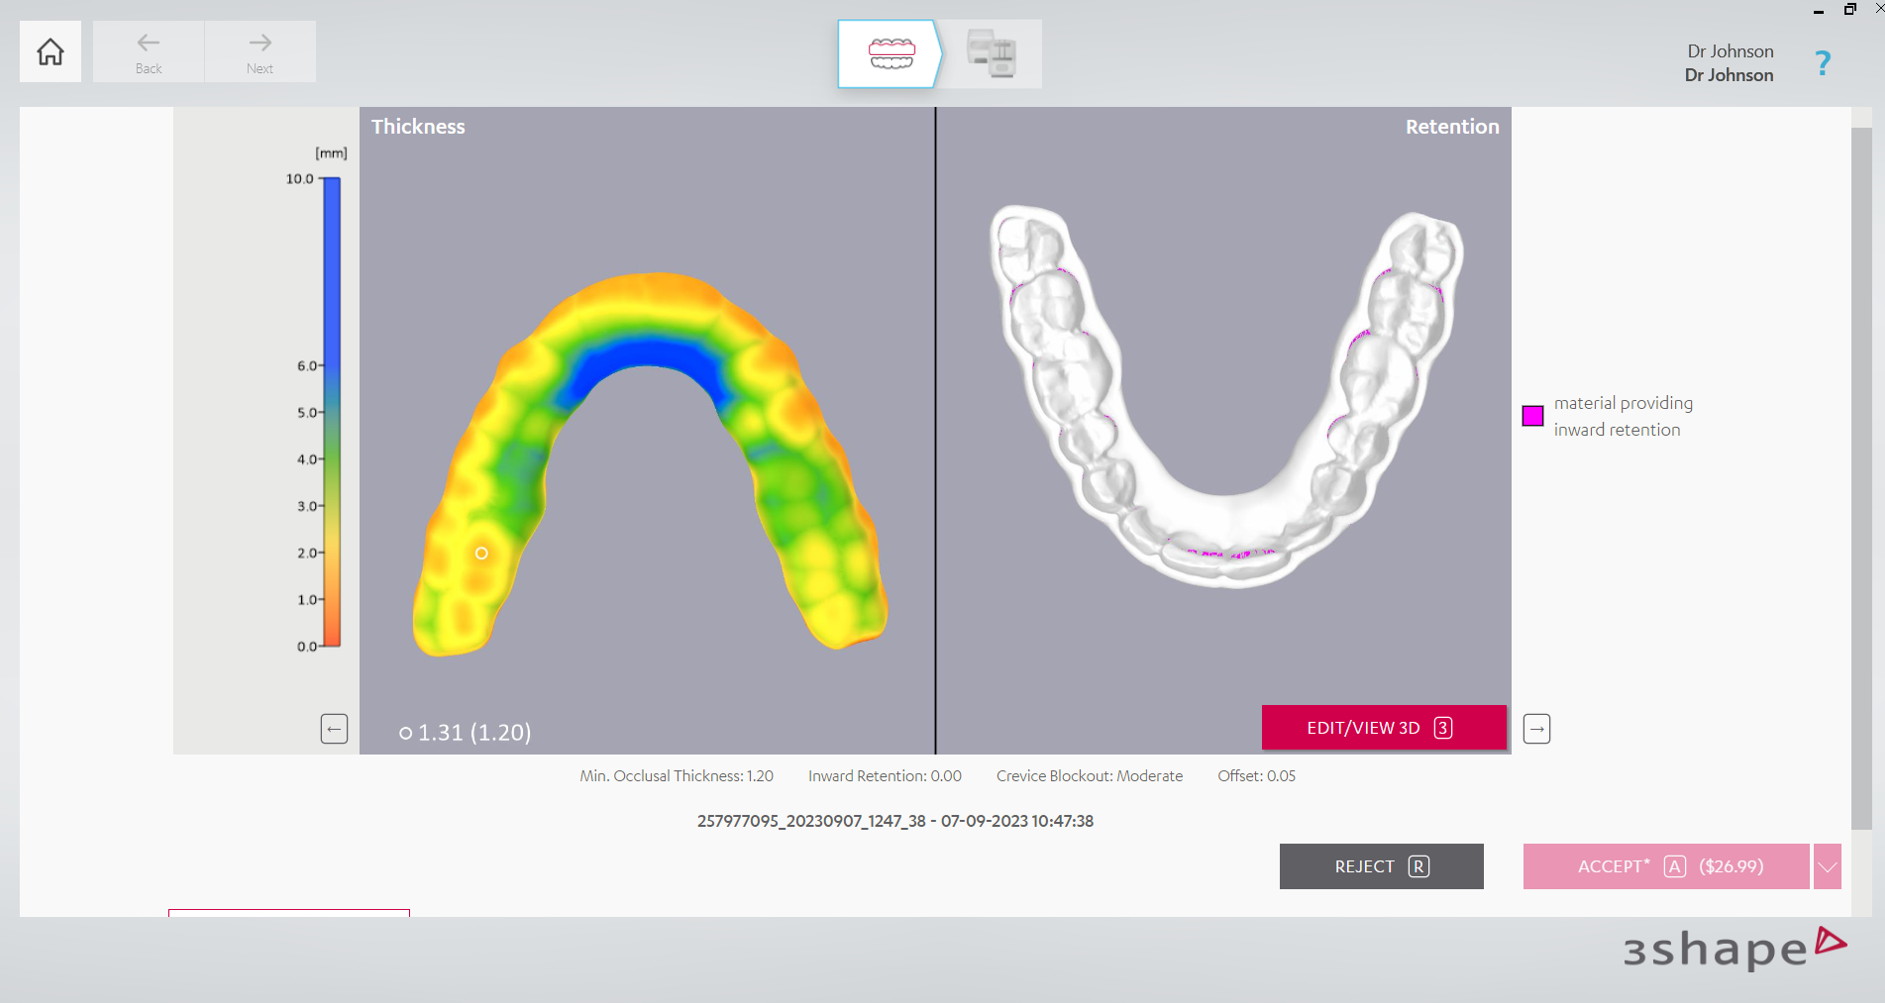
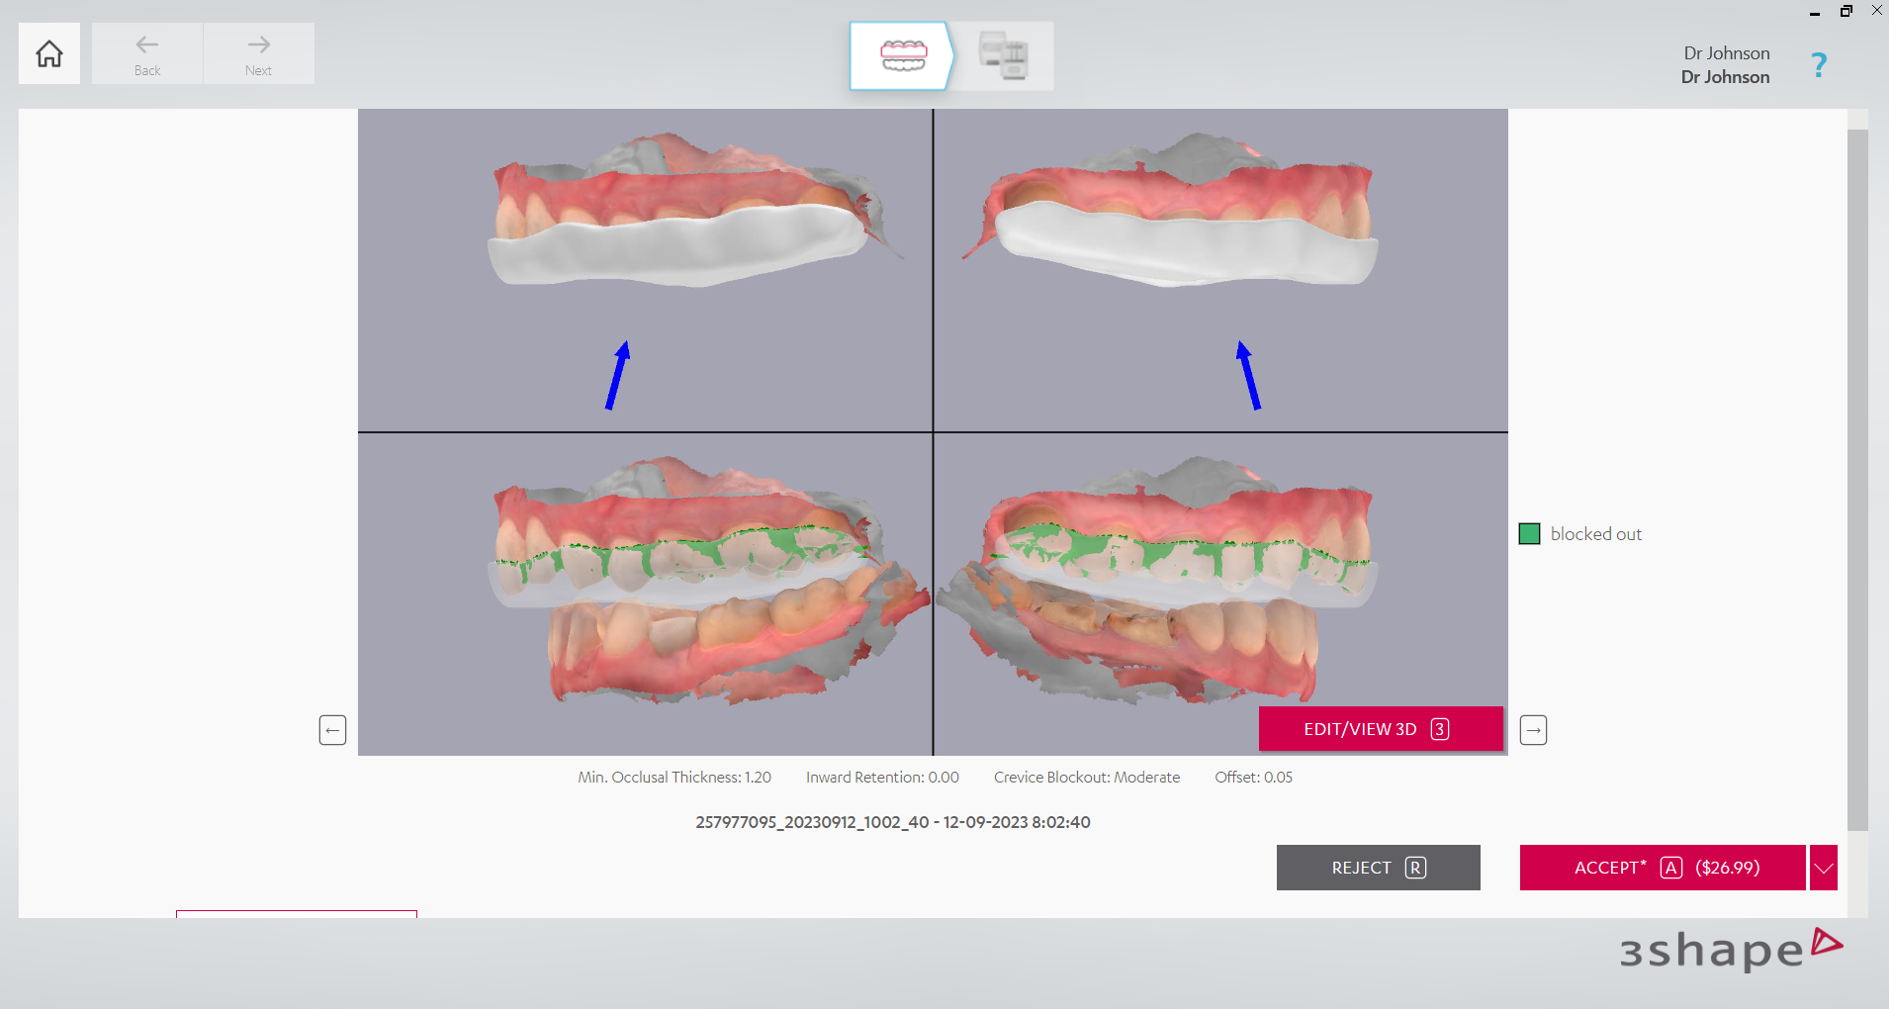
Step 10: After the case is designed, you can observe the design in multiple views by clicking “Open” button and using arrows to check the design.

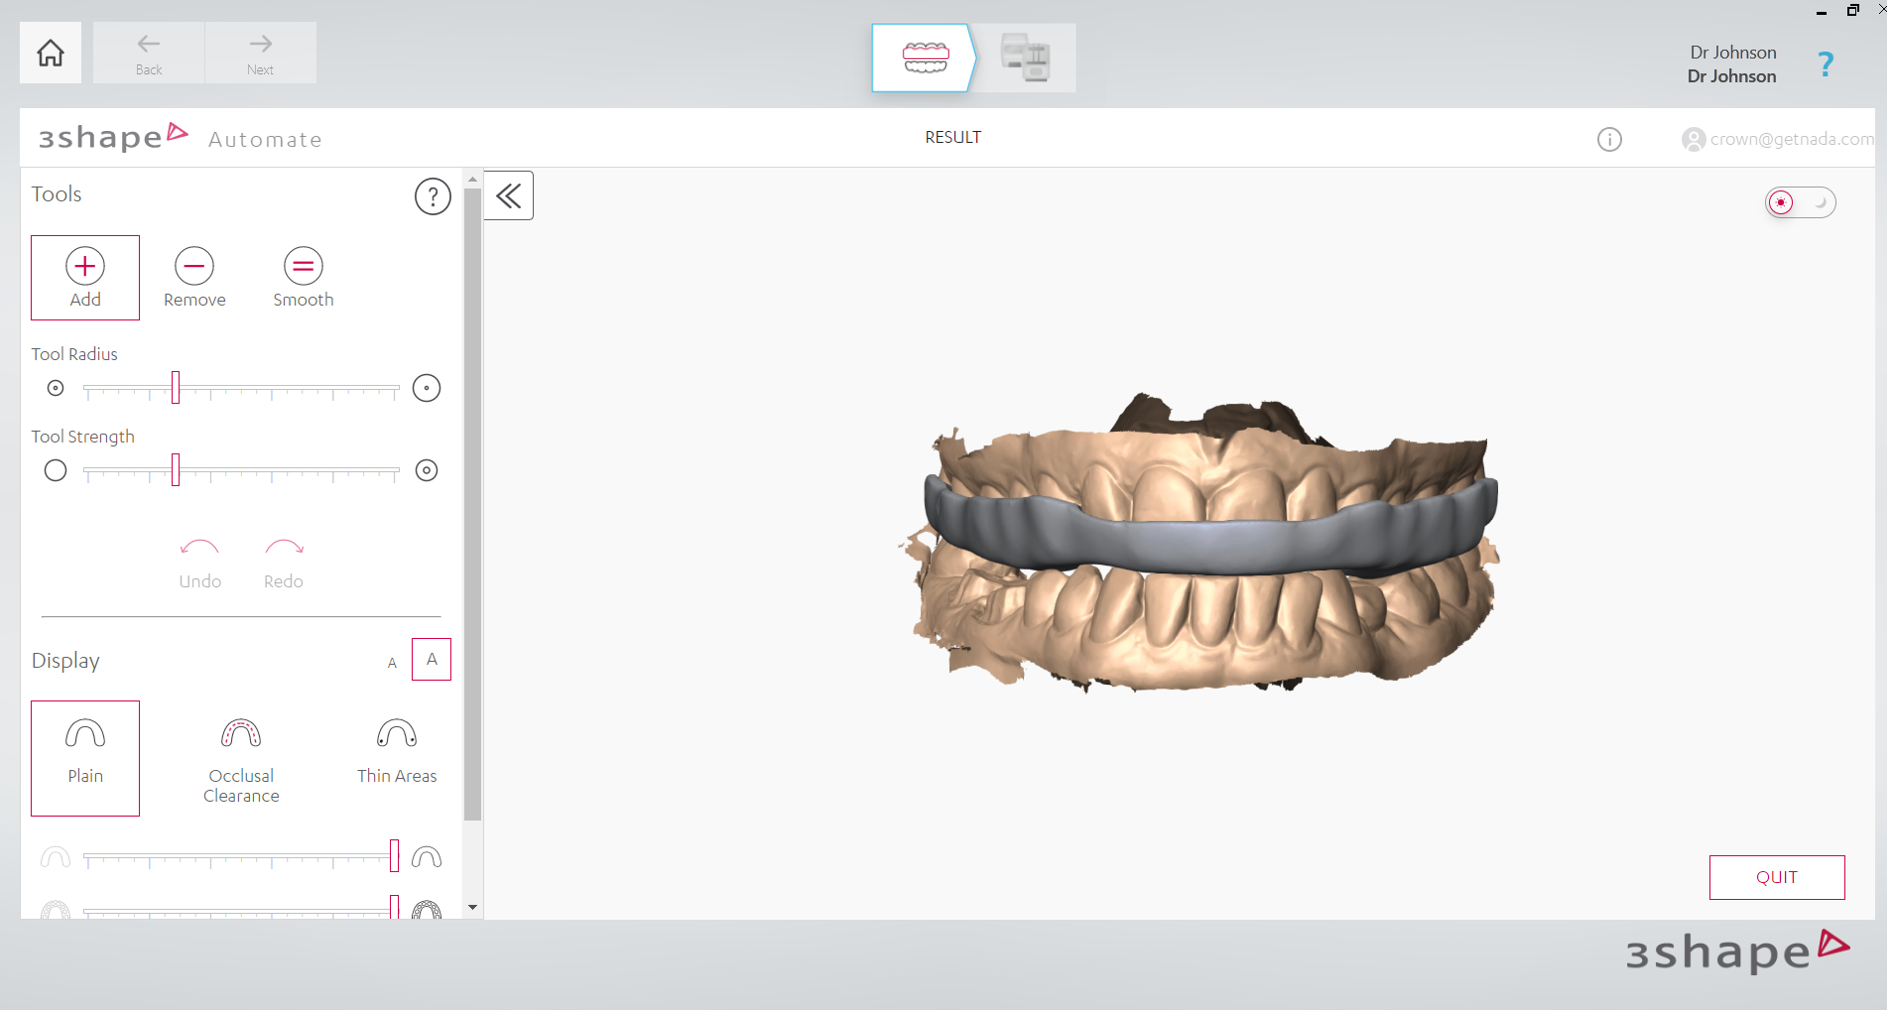
Step 11: By clicking “Edit/View 3D” button, you can open 3D Editor to make changes to the design. On the image below, you may see the tab where the design is edited by various tools.
Step 12: Select “Done” once the changes are complete.

Step 13: At this stage the case can be accepted or rejected. If the case is accepted, and there’s enough money on your account, CAM output will be downloaded.
Produce Workflow
To use the Produce feature, it must be installed in Unite. Produce is typically available with 3Shape Studio Apps (Implant Studio, TRIOS Design Studio, Splint Studio), Model Maker and Model Builder Express.
Step 1: After the nightguard design is accepted it will be downloaded. If there is a milling machine connected to your system, you may proceed to the Produce stage. Otherwise, you may download the design or export CAM output file for manufacturing/milling from Automate portal.
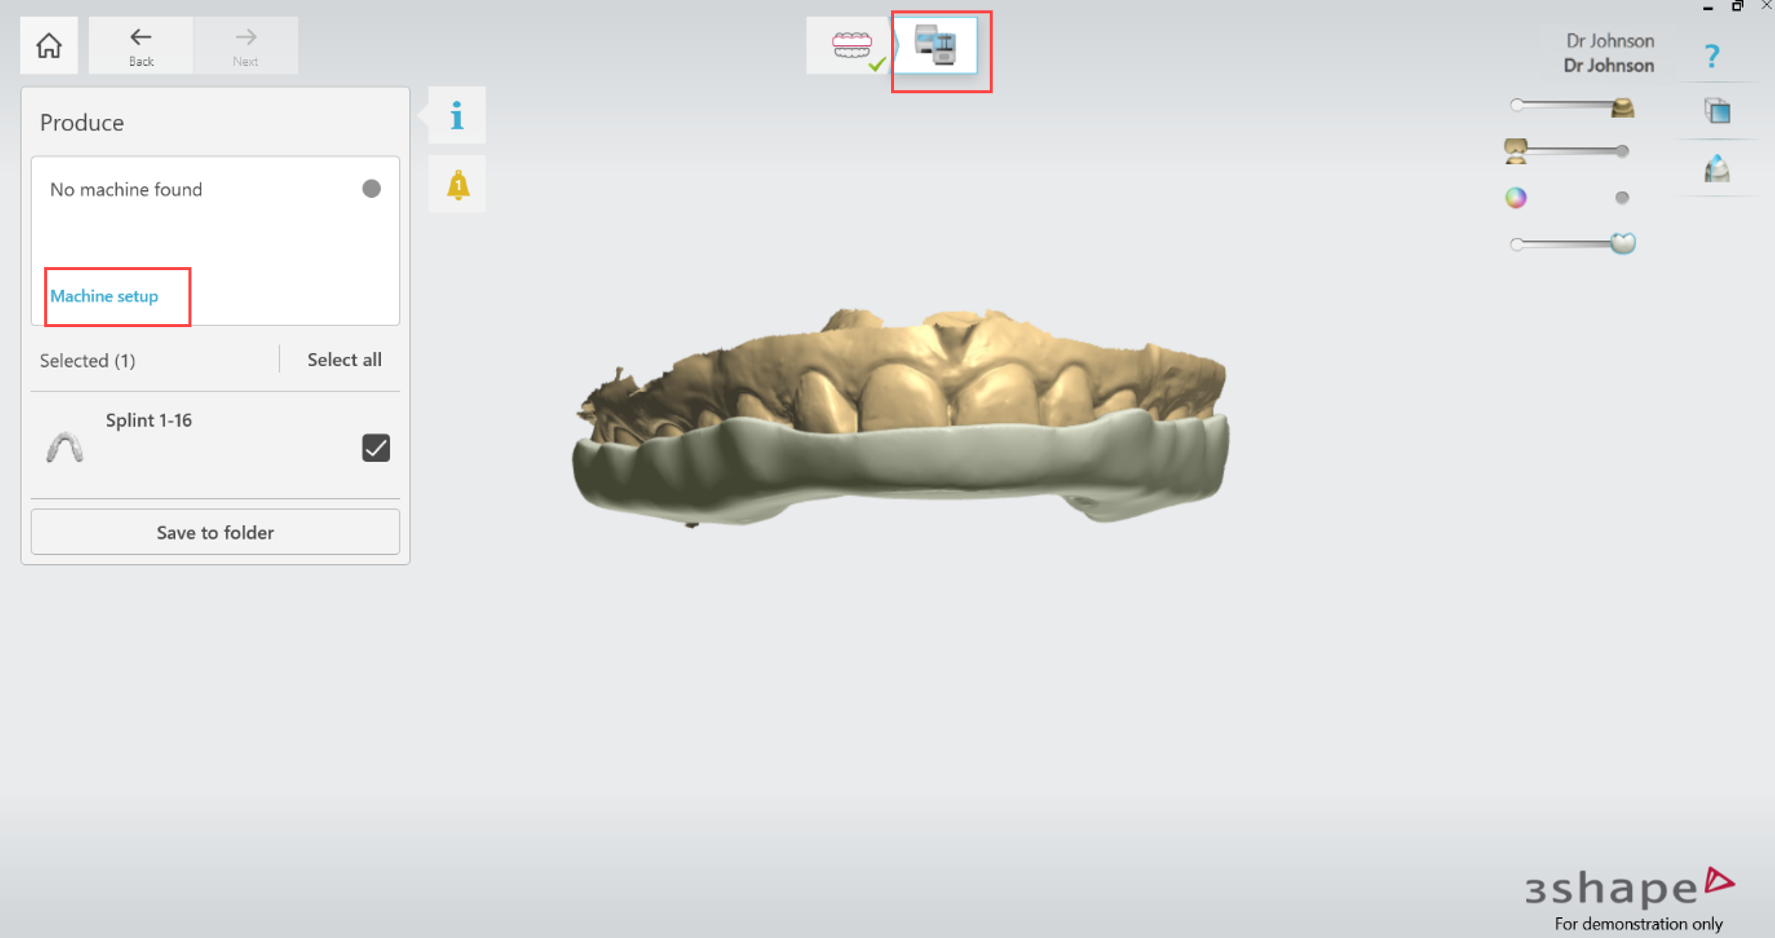
Step 2: You can set up your milling machine to send your design directly to it by clicking ‘Machine setup’, or save your design to a folder.
Step 3: After clicking ‘Machine setup’, select a machine to connect by clicking ‘Setup’ button.

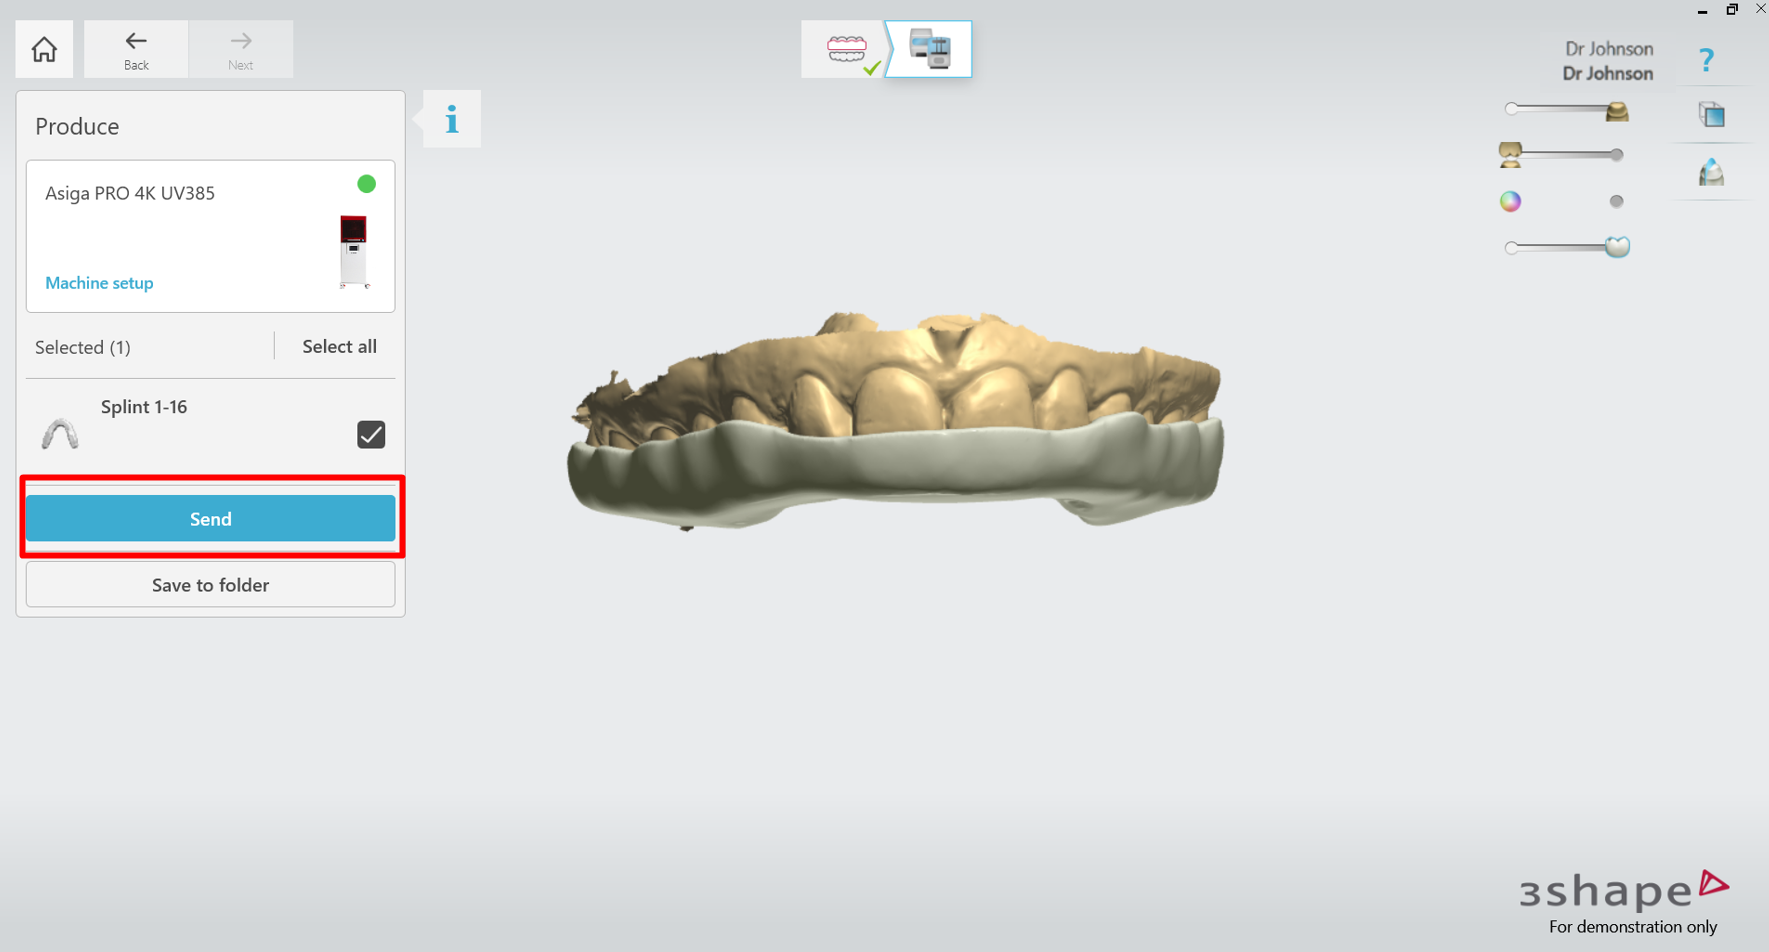
Step 4: After connection is established, the status will be changed to ‘Connected, online’.

Step 5: You can now send designed nightguard to the connected machine.
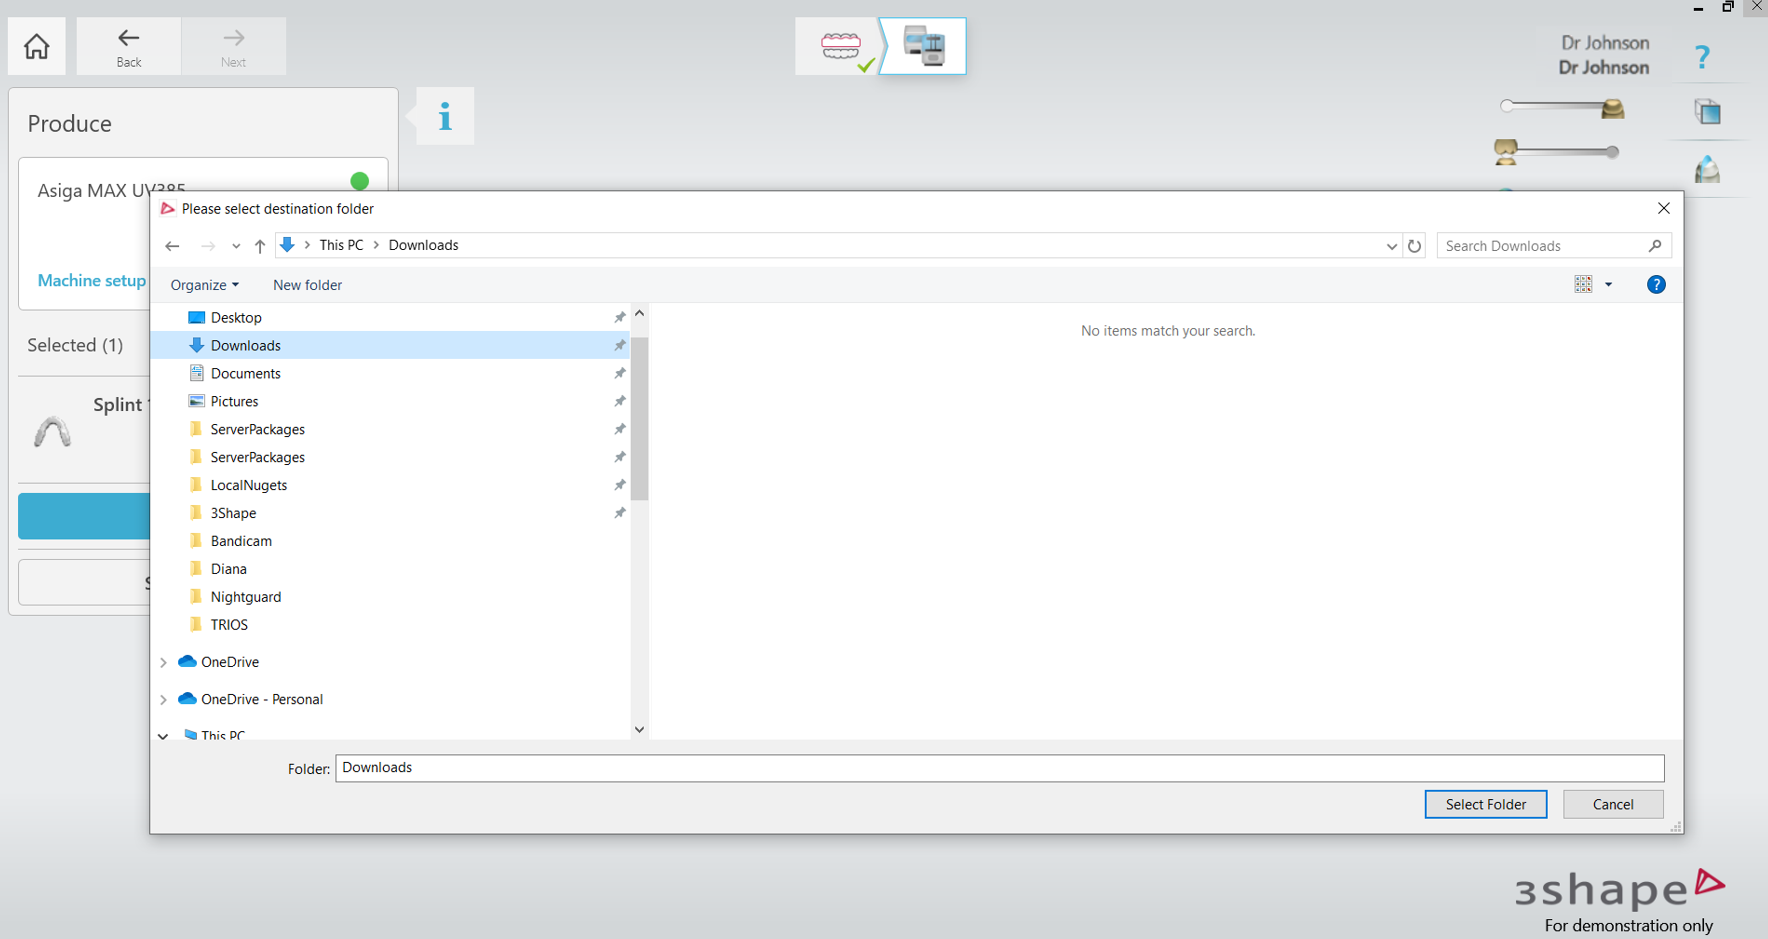
Step 6: When completed, you can save your design output file in the STL format to a selected folder on your PC by clicking ‘Save to folder’ button and selecting the folder.
If you have any questions, our Customer Support team is here to help!
Email: automate@3shape.com
Phone: +1 602-688-4133
Live Chat: Available Monday – Friday, 7:00 AM – 3:00 PM (MST)
International Support: +44 159-572-8586, Monday – Friday, 9:00 AM – 6:00 PM (CET)
We’re happy to assist you with any questions or concerns!